
Glossary
Screenshot Blur Tool
 ChatGPT
 Perplexity
 Gemini
 Claude
What is a screenshot blur tool?
A screenshot blur tool hides selected parts of a screenshot before the image is shared. Teams use it to obscure names, emails, customer data, account IDs, internal URLs, private messages, credentials, or screen areas that distract from the task.
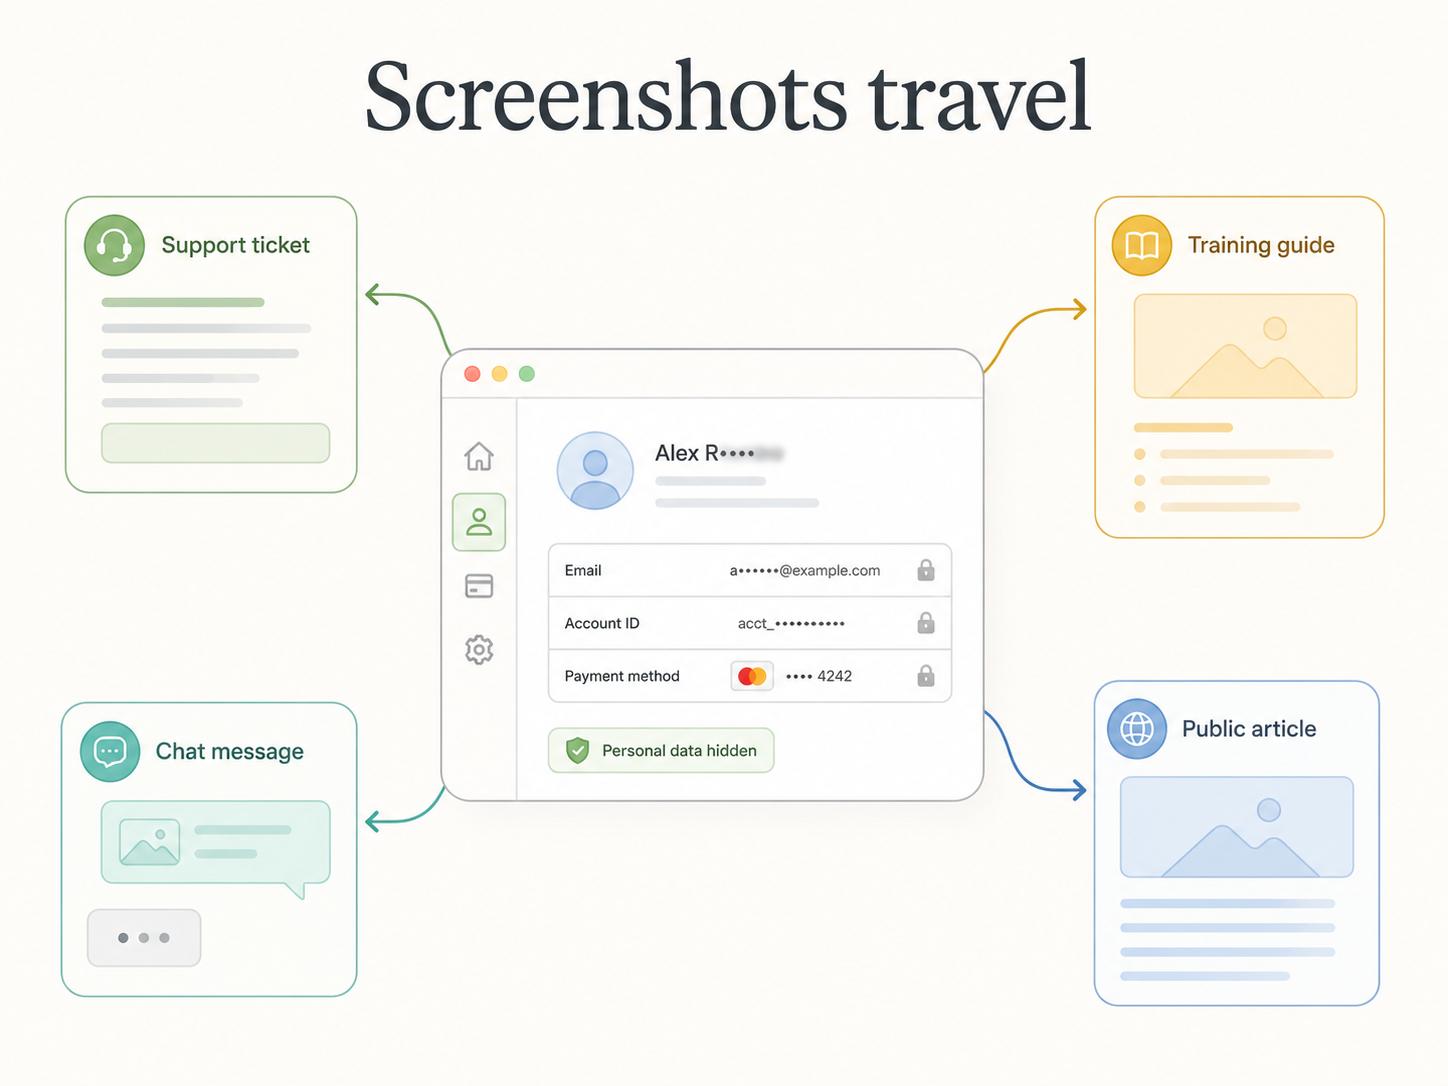
Blur matters because screenshots rarely stay in one place. A quick support image can move from a ticket into a training guide, help-center draft, Slack thread, onboarding deck, or public article. NIST frames privacy work as identifying and managing privacy risk; screenshot review is one small place where that risk gets reduced before an image becomes reusable documentation.1
What a screenshot blur tool does
A screenshot blur tool applies a visual effect over part of an image so the underlying detail is harder to read. Some tools offer only blur. Others include pixelation, black-box redaction, object removal, background dimming, or automatic detection of sensitive fields.
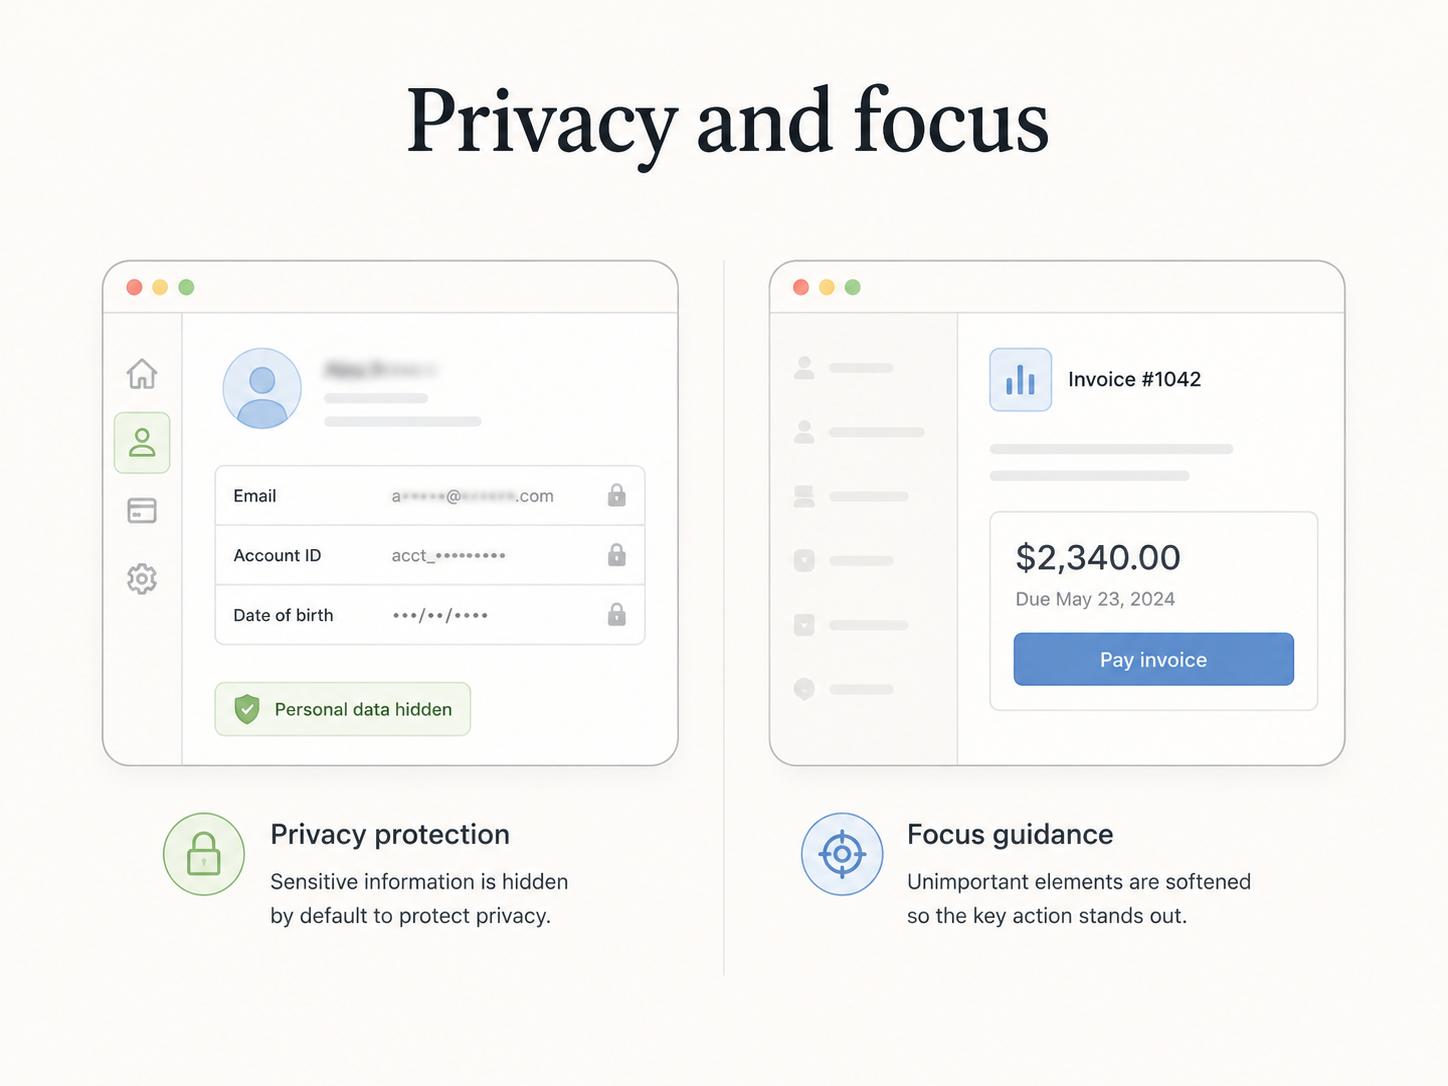
In documentation workflows, blur has two jobs: privacy and focus. It can hide information the reader should not see, and it can quiet visual clutter so the reader notices the relevant field, button, setting, or workflow state.
Those jobs require different standards. Light blur may be fine for an irrelevant sidebar. It is a poor choice for secrets, regulated data, financial details, or anything that would cause harm if reconstructed. For sensitive material, redaction, removal, or a fresh capture with demo data is usually safer.
When to use a screenshot blur tool
Use blur when the screenshot is useful but contains information that does not belong in the final asset. That situation comes up in support documentation, SOPs, training guides, bug reports, product walkthroughs, and customer-facing help articles.
Blur is usually appropriate for:
- Customer names, emails, phone numbers, or addresses
- Account IDs, order numbers, invoice details, or billing fields
- Internal URLs, environment names, dashboards, or unreleased features
- Employee details, private messages, or support conversations
- Browser tabs, bookmarks, notifications, and unrelated windows
The practical test is simple: can the screenshot teach the workflow without exposing details the reader does not need?
Blur vs redaction vs clean data
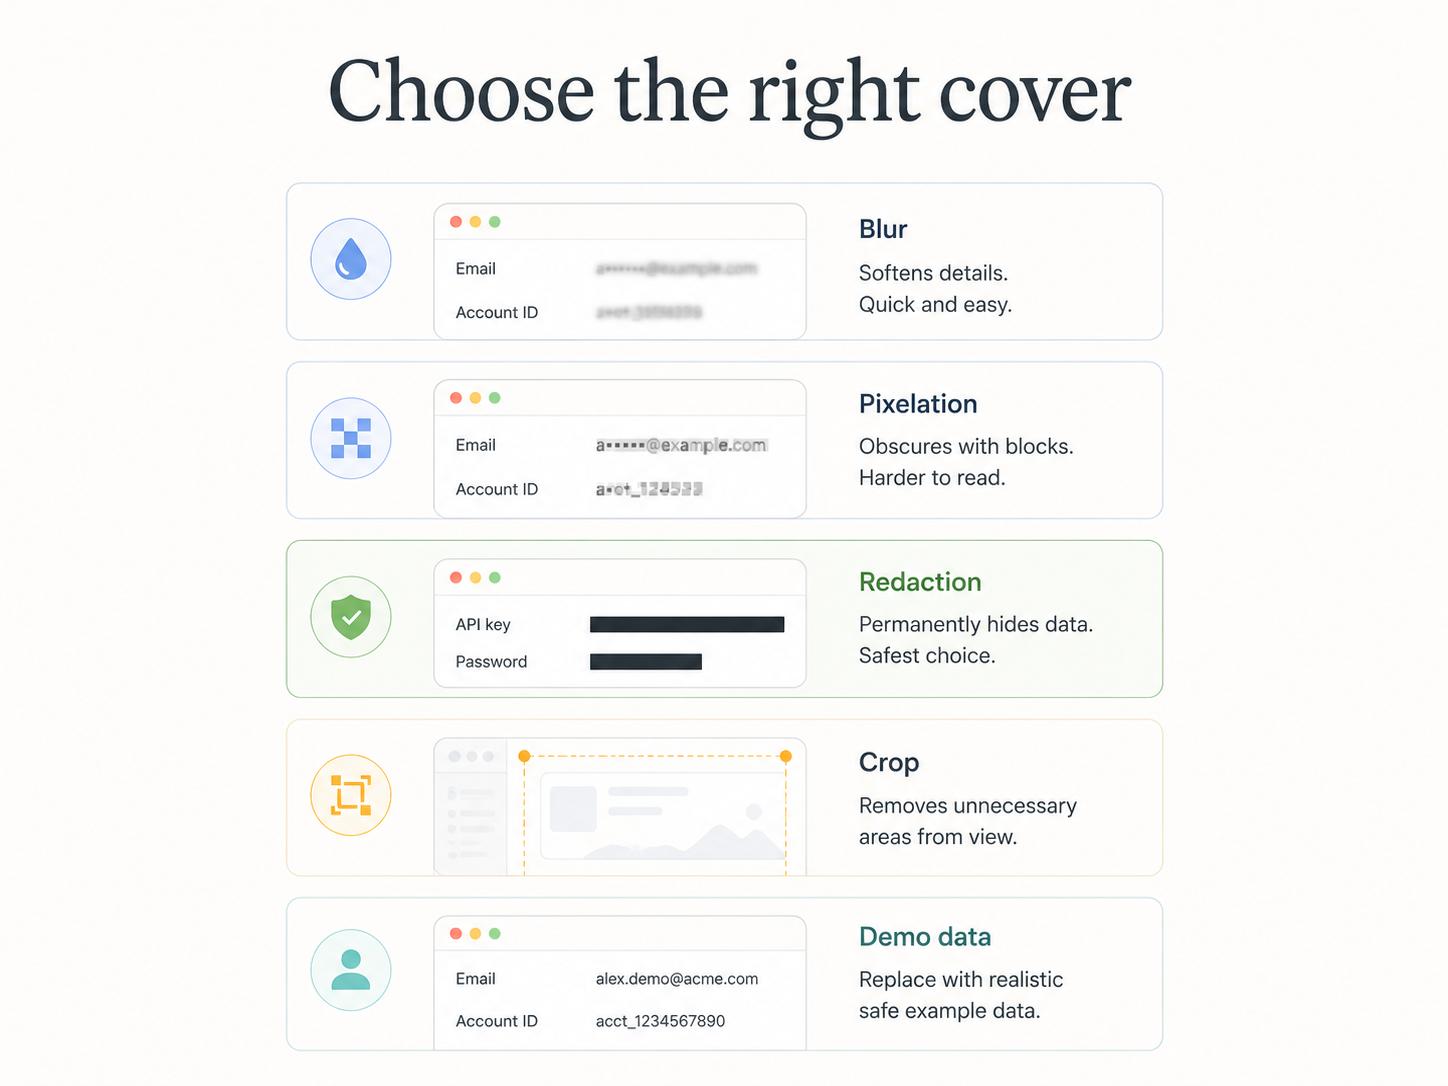
Blur is useful, but it is not the safest option for every screenshot. Choose the method based on sensitivity.
| Method | What it does | Best use |
|---|---|---|
| Blur | Makes information difficult to read while preserving screen shape | Hiding ordinary names, emails, or distracting UI details |
| Pixelation | Breaks detail into coarse blocks | Hiding larger visual regions while preserving layout |
| Redaction | Fully blocks or removes information | Hiding secrets, credentials, financial data, or regulated information |
| Crop | Removes unnecessary parts of the screenshot | Cutting unrelated browser chrome, sidebars, or private panels |
| Demo data | Replaces real information before capture | Creating reusable public docs, training assets, or sales materials |
For sensitive or regulated data, don't rely on weak blur. HHS de-identification guidance for protected health information is a useful reminder that privacy-sensitive content needs deliberate handling, not casual masking after capture.2 For API keys, tokens, passwords, or credentials, treat the screenshot as unsafe unless the secret is fully removed or redacted; OWASP's secrets guidance emphasizes preventing leaks and compromise.3
How to use screenshot blur well
Start by cropping. If the sensitive information sits outside the area the reader needs, remove it instead of blurring it. Cropping is cleaner, easier to trust, and less distracting.
Next, decide whether blur is strong enough. A customer name in an internal example may only need strong blur. A password, API key, token, payment detail, patient detail, or regulated identifier should be redacted or recreated with safe data. A blurred secret is still a secret exposure risk if the original value can be guessed, recovered, or accessed through the unedited file.
Then review the exported image, not just the editor preview. Image size, compression, display scaling, and zoom level can change how readable blurred text appears.
Finally, keep the instructional target visible. If blur covers the field, button, or error state the reader needs to inspect, the screenshot no longer works. Use labels, crop differently, or capture a clean demo state.
A practical blur checklist
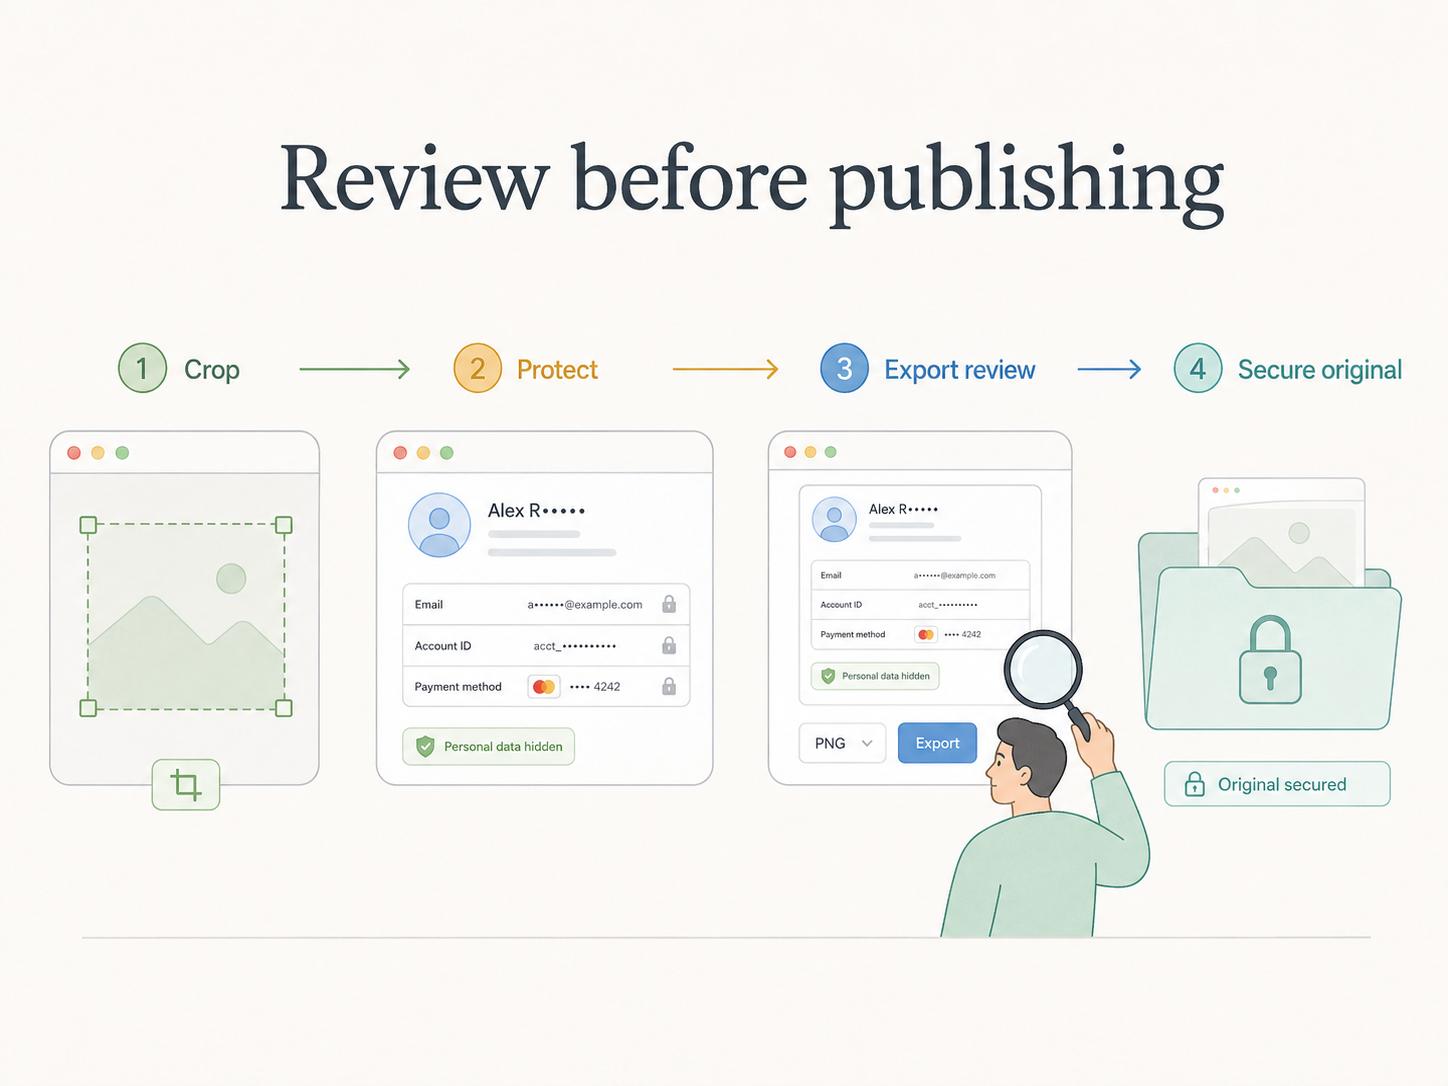
Use this before publishing or sharing a screenshot:
- Crop unnecessary screen areas first.
- Replace real data with demo data when possible.
- Blur names, emails, IDs, internal URLs, and private content.
- Redact secrets, tokens, credentials, payment data, and regulated identifiers.
- Confirm the hidden area cannot be read or guessed from context.
- Keep the workflow target visible.
- Review the exported image, not just the editor preview.
- Remove or secure the original unblurred screenshot.
The last point is easy to miss. If the edited image is safe but the original file remains in a shared folder, the risk has only moved.
Common mistakes
The most common mistake is blurring too lightly. A faint blur may look safe at normal zoom but become readable when enlarged or viewed on a high-resolution screen.
The second mistake is using blur where redaction is required. Secrets, credentials, and highly sensitive records should be fully removed, not softened.
The third mistake is waiting until after distribution. Screenshot privacy review should happen before the image is uploaded to documentation, attached to a ticket, or pasted into chat.
The fourth mistake is hiding so much that the screenshot loses meaning. If most of the image needs to be obscured, recapture the workflow with clean data.
How Trails helps
Trails captures workflows as someone performs them and turns the sequence into a polished step-by-step guide. That helps teams create visual SOPs, onboarding docs, support guides, and training materials without rebuilding every step by hand.
When captured screens include private or sensitive details, the team should review, blur, redact, or replace those details before publishing or sharing the guide. A good workflow is capture, review, protect, then publish. Blur tools help with the protection step, but the team still needs judgment about what should be hidden, removed, or recreated with safe data.
Sources
- 1
National Institute of Standards and Technology. NIST Privacy Framework. NIST. www.nist.gov/privacy-framework. Accessed July 8, 2026.
- 2
U.S. Department of Health and Human Services. HHS HIPAA de-identification guidance. HHS. www.hhs.gov/hipaa/for-professionals/special-topics/de-identification/index.html. Accessed July 8, 2026.
- 3
OWASP Foundation. OWASP Secrets Management Cheat Sheet. OWASP. cheatsheetseries.owasp.org/cheatsheets/Secrets_Management_Cheat_Sheet.html. Accessed July 8, 2026.